How to Make Pressed Flower Bookmarks That Look Store-Bought
Transform delicate garden blooms into timeless keepsakes. Follow our step-by-step guide to creating professional-quality pressed flower bookmarks at home.
The Art of Preserving Nature
There is something inherently soul-soothing about the process of pressing flowers. It is a slow, intentional craft that encourages us to pause, observe the beauty of a petal, and hold onto a fleeting moment of the season. If you have ever admired those delicate, resin-encased bookmarks in boutique shops and wondered if you could recreate the magic yourself, the answer is a resounding yes. Learning how to make pressed flower bookmarks is a rewarding project that blends botany with artistic expression, perfect for your next cozy weekend afternoon.
Gathering Your Botanical Treasures
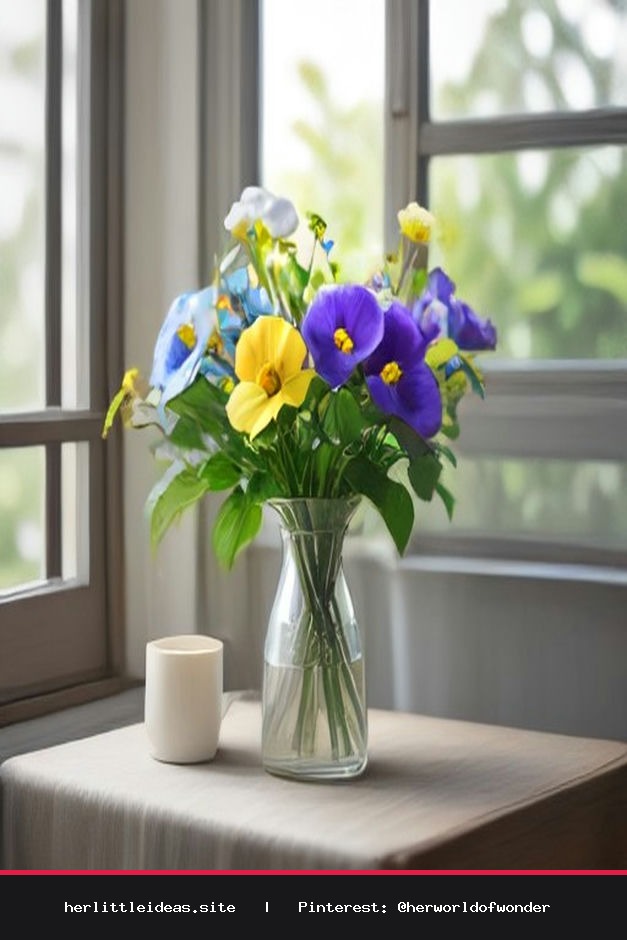
Before you begin, selecting the right flora is essential for a polished, store-bought finish. Look for flowers that are naturally flat or have a low profile, such as pansies, violas, daisies, baby’s breath, or ferns. Avoid thick, fleshy flowers like lilies or succulents, as they contain too much moisture and are prone to molding.
- Harvesting: Choose flowers in the morning after the dew has evaporated but before the heat of the day takes hold.
- Condition: Ensure your blooms are free from blemishes or insect damage to keep the final product looking pristine.
- Pressing: Use a traditional wooden flower press or a heavy stack of books. Place your flowers between two sheets of acid-free parchment paper to absorb moisture without staining your book pages.
Materials You Will Need
To achieve that high-end aesthetic, quality supplies are key. You will need:
- Pressed flowers and greenery
- Heavyweight cardstock or watercolor paper (cream or white for a classic look)
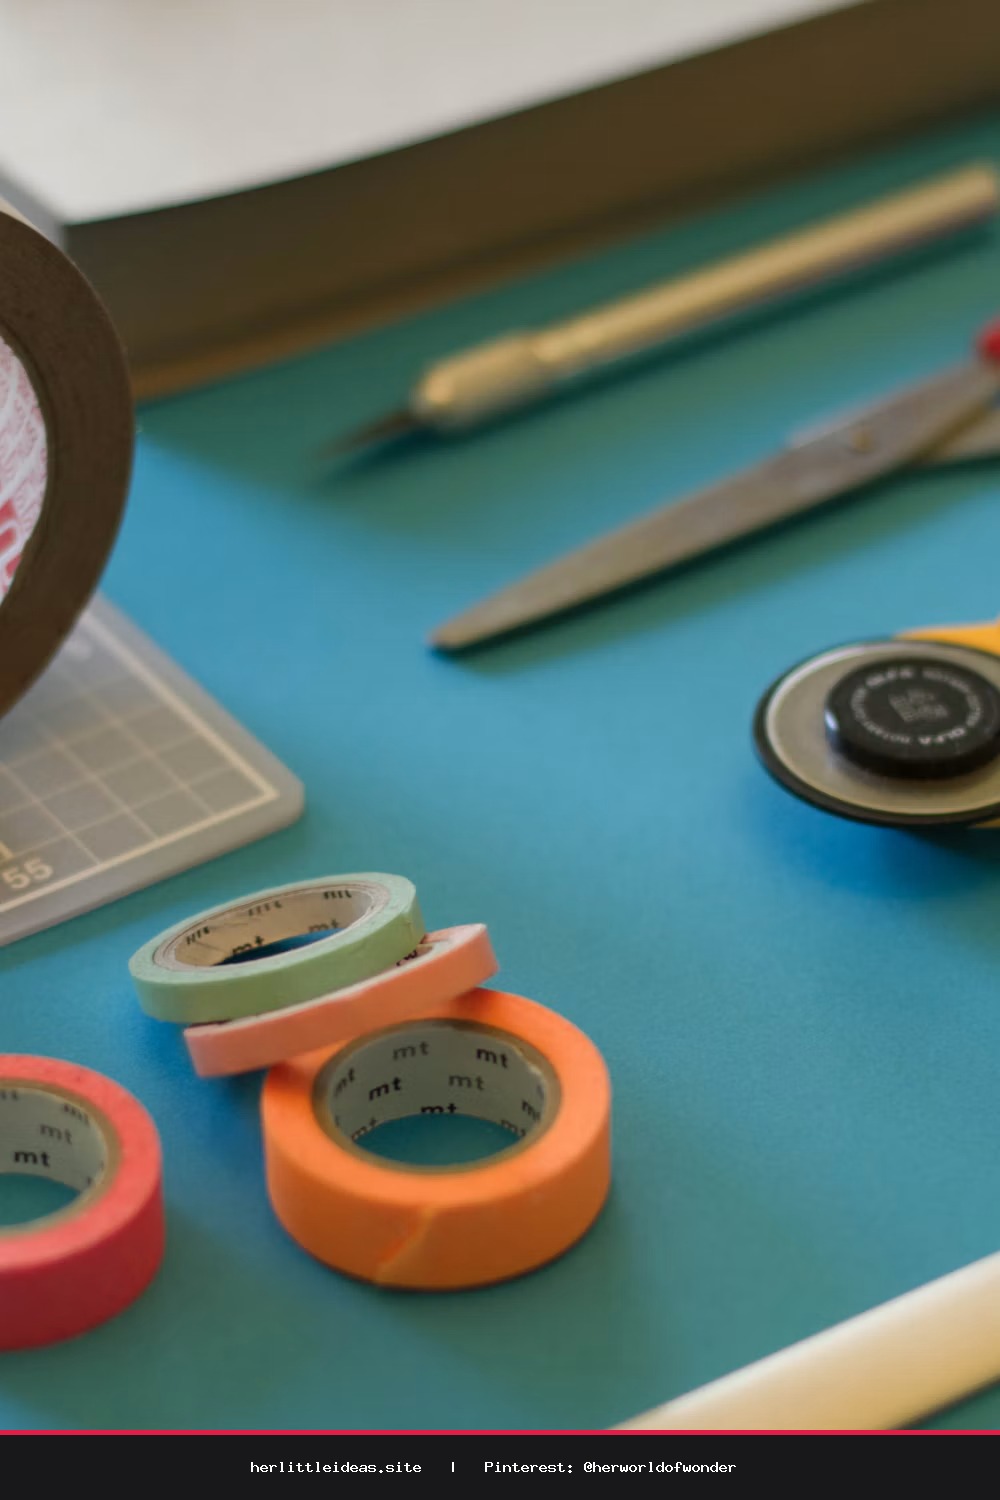
- Clear self-adhesive laminating sheets or a high-quality Mod Podge/decoupage glue
- A hole punch and decorative silk or velvet ribbon
- Fine-tip archival pens for optional calligraphy
Step-by-Step: Crafting Your Bookmarks
- Design the Layout: Cut your cardstock into a standard 2x6 inch bookmark shape. Before committing to glue, arrange your pressed flowers on the surface. Play with negative space; sometimes, a single fern leaf looks more sophisticated than a crowded bouquet.
- Adhesion: If using glue, apply a very thin, even layer over the cardstock. Use a pair of tweezers to carefully place your flowers. If you prefer the laminated look, carefully peel the backing off your laminating sheet and smooth it over the cardstock, ensuring no air bubbles are trapped.
- The Professional Finish: If you used glue, allow the bookmarks to dry under a heavy book for 24 hours to ensure the flowers remain perfectly flat. Once dry, trim any overlapping edges of the laminate with sharp craft scissors for a clean, crisp border.
- Adding Detail: Punch a hole at the top and thread a piece of velvet ribbon through. The texture of the ribbon adds a layer of luxury that distinguishes a DIY project from a mass-produced item.
Styling Your Creation
These bookmarks are not just functional; they are an extension of your home’s aesthetic. Place your finished bookmarks inside your favorite vintage novels or use them as a thoughtful, handmade gift tucked inside a card for a friend. They serve as a gentle reminder to slow down, pick up a book, and appreciate the quiet beauty that surrounds us daily. Whether you are gifting them or keeping them for your personal library, these bookmarks are a tangible piece of your own 'little world'—grounded, authentic, and beautifully preserved.
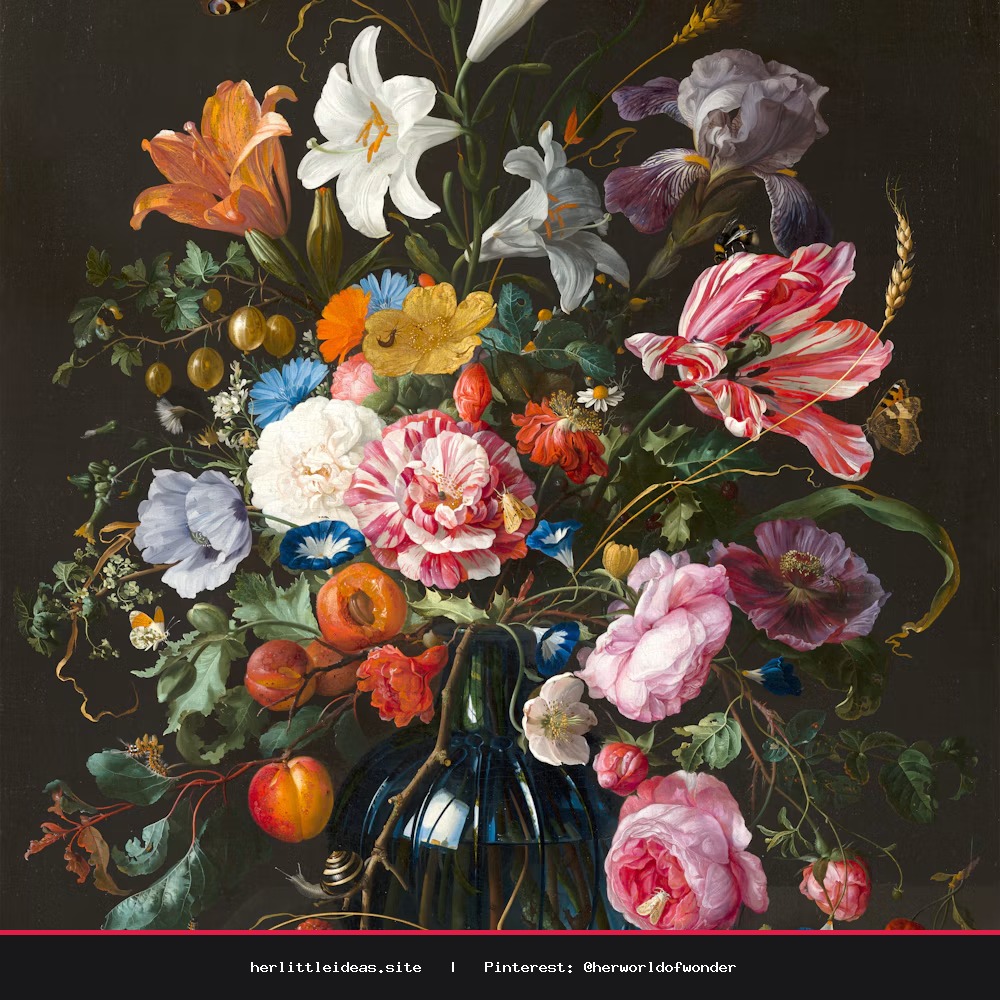
DIY Pressed Flower Bookmarks: Easy & Aesthetic Tutorial 🌸
Elevate your reading nook with these stunning DIY pressed flower bookmarks. A simple, step-by-step guide to preserving nature for your favorite books. #pressedflowers #diybookmarks #bookish #cottagecore #crafts