Beginner Guide to Making Pressed Flower Bookmarks for Home Decor
Transform your favorite blooms into timeless stationery. Learn how to make pressed flower bookmarks with this simple, soul-soothing DIY guide.
Embrace the Art of Slow Living: Pressed Flower Bookmarks
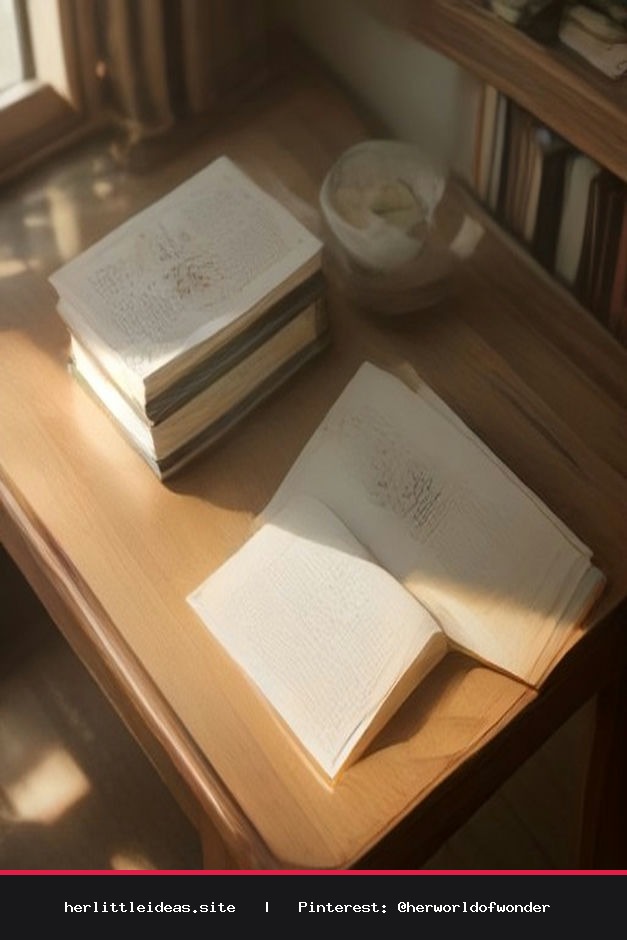
There is something inherently magical about capturing the fleeting beauty of a season and tucking it between the pages of a beloved book. Creating pressed flower bookmarks is more than just a craft; it is a grounding ritual that invites you to slow down, observe the intricate details of nature, and bring a touch of botanical elegance into your daily reading routine. Whether you are looking to elevate your home library or create thoughtful, handmade gifts for friends, this guide will walk you through the process with grace and ease.
Gathering Your Nature Treasures
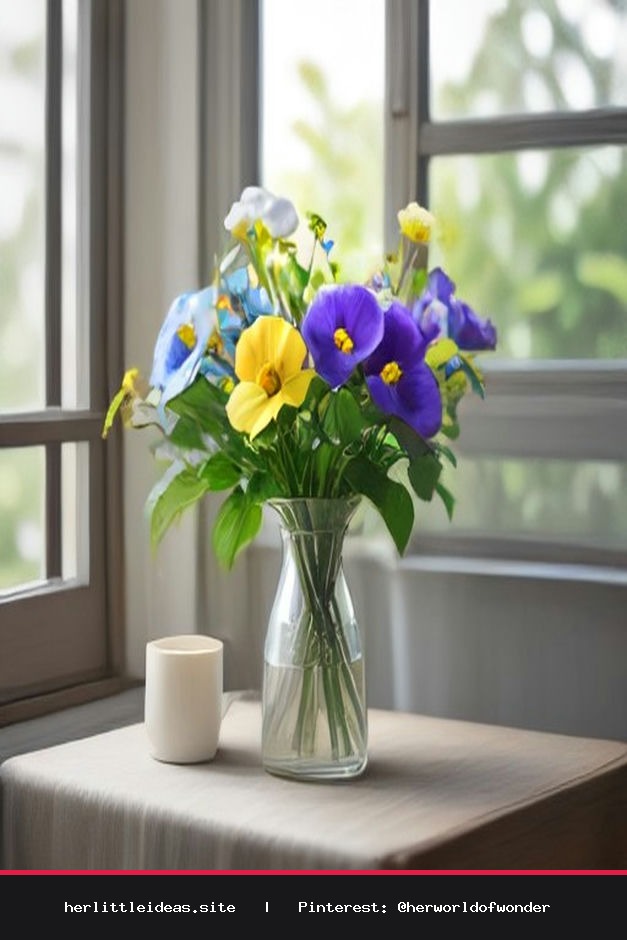
Before you begin, take a mindful walk through your garden or a local meadow. Look for flowers with naturally flat faces, such as pansies, violas, daisies, or delicate fern leaves. These varieties press beautifully and retain their structure. Pro tip: Always gather flowers when they are dry—avoid picking them right after rainfall to prevent browning or mold during the pressing process.
The Pressing Process: Patience is Key
To achieve the best results, you don't need expensive equipment. A heavy book from your shelf works perfectly.
- Lay your chosen flowers face down on a piece of parchment paper.
- Place a second sheet of paper on top to protect the book pages.
- Close the book firmly and place a few extra heavy volumes on top to apply consistent pressure.
- Wait patiently for 7 to 14 days, depending on the thickness of the petals.
While you wait, use this time to reflect on your goals or simply enjoy the quiet stillness of your home. This is the essence of intentional living.
How to Make Pressed Flower Bookmarks: Step-by-Step
Once your flowers are perfectly dried and paper-thin, it is time to assemble your bookmarks.
- Prepare Your Base: Cut strips of high-quality cardstock or watercolor paper to your preferred bookmark size (typically 2x6 inches).
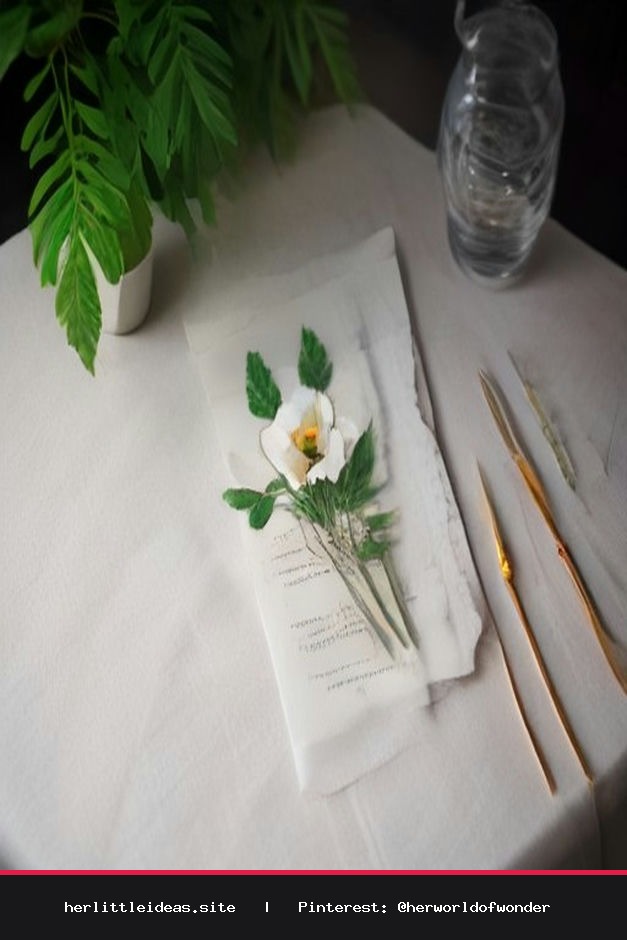
- Arrange Your Design: Play with the placement of your pressed flowers. Use a pair of tweezers to gently position them until you are happy with the composition.
- Secure with Adhesive: Use a very light touch of acid-free craft glue or decoupage medium (like Mod Podge) to secure the flowers to the paper.
- Seal the Beauty: For a polished finish, you can cover the entire bookmark with clear self-adhesive laminating sheets. This protects the delicate petals from wear and tear while giving the bookmark a professional, glossy look.
- Add a Final Flourish: Punch a small hole at the top and thread through a piece of silk ribbon, twine, or jute string for an extra aesthetic touch.
Styling Your Aesthetic Home Accents
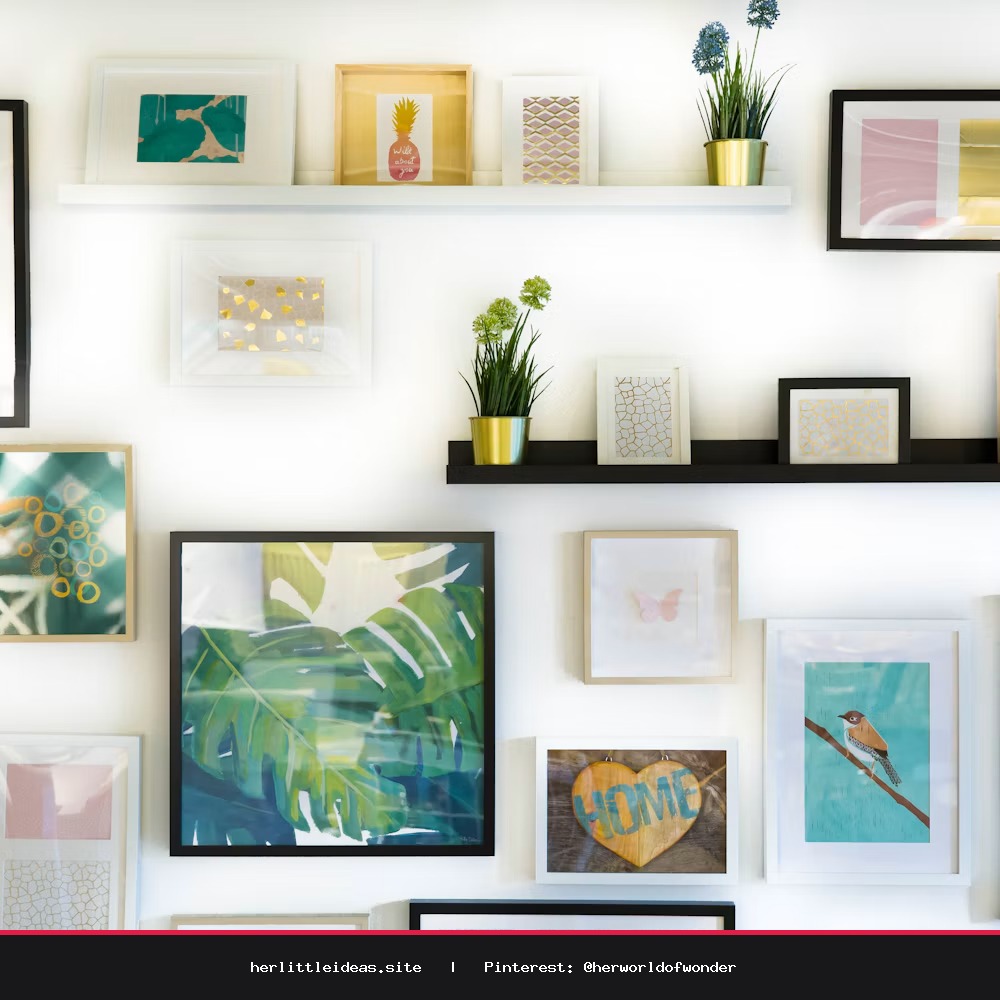
Once finished, these bookmarks serve as beautiful decor pieces even when not in use. Prop them up in a small vintage glass jar on your nightstand, tuck them into a decorative tray, or display them clipped to a wire wall grid alongside dried herbs and polaroid photos. They bring an organic, cozy texture to any room, turning your reading nook into a sanctuary of peace and inspiration. Remember, the beauty of this craft lies in its imperfections—each petal tells a story, and every bookmark is a unique piece of art crafted by your own hands.
DIY Pressed Flower Bookmarks: Simple & Aesthetic 🌸
Create your own beautiful pressed flower bookmarks! A step-by-step guide to slow living, botanical crafts, and aesthetic home decor. Perfect for book lovers. #PressedFlowers #DIYBookmarks #SlowLiving #AestheticCrafts #HomeDecorIdeas