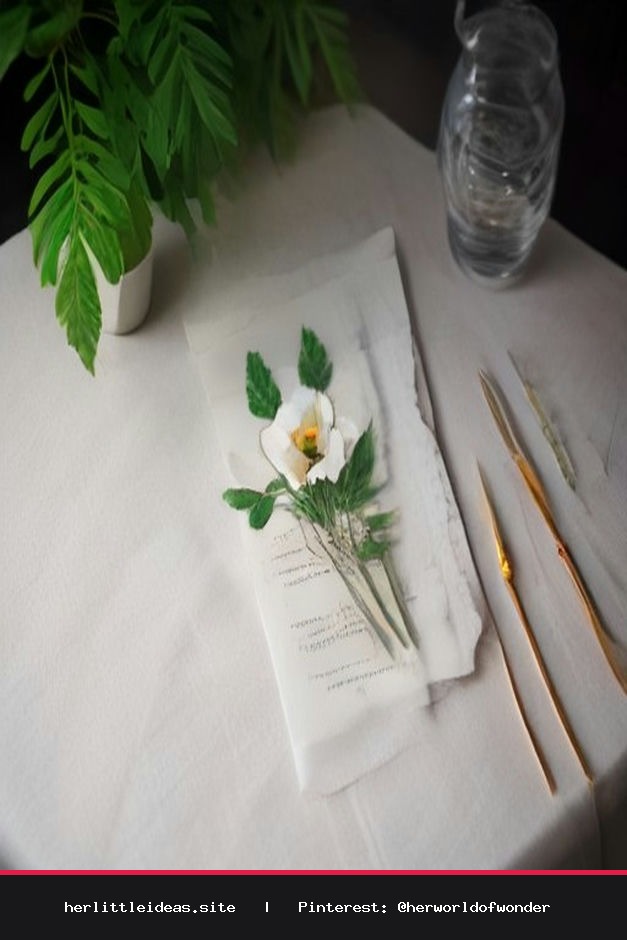
How to Make Pressed Flower Bookmarks on a Tiny Budget
Learn how to make pressed flower bookmarks using budget-friendly supplies. Preserve lovely blooms and craft mindful, cozy reading gifts with ease.
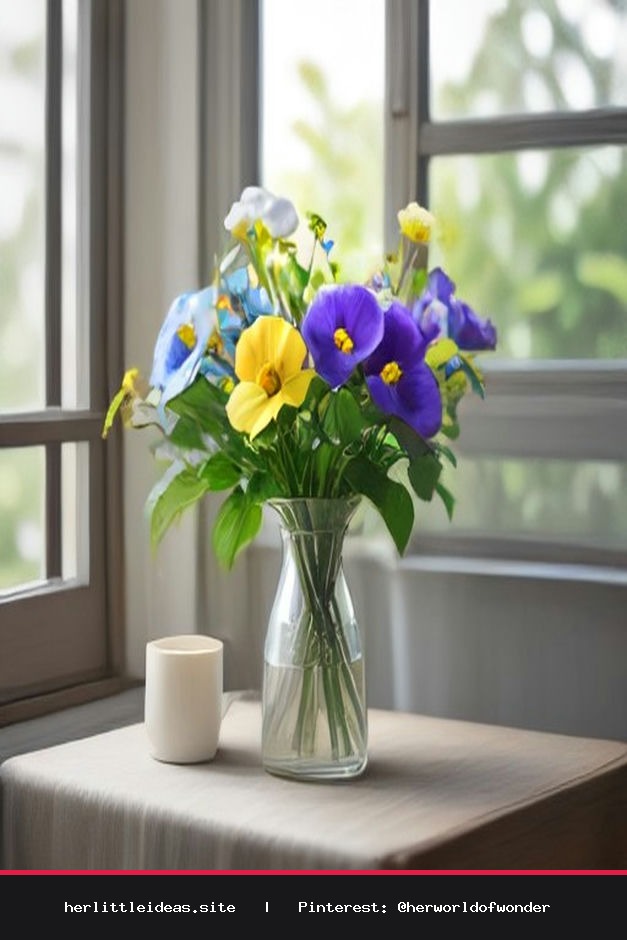
There is a quiet, poetic joy in saving a fleeting piece of nature between the pages of a beloved novel. If you have ever pressed a delicate buttercup inside a vintage journal or admired sunlit floral stationery, creating your own botanical keepsakes is the sweetest creative ritual. Today, we are exploring how to make pressed flower bookmarks without purchasing costly laminating gadgets, uv lamps, or industrial resin setups.
Crafting these botanical treasures is a grounding act of slow living. With just a handful of foraged petals, scrap paper, and clear self-adhesive film or wide tape, you can create durable, romantic bookmarks that bring the meadow straight to your reading nook.
Gathering Inexpensive Craft Supplies
You do not need a specialty craft store trip to begin. In fact, most of these materials are likely resting in your desk drawers or kitchen cabinets right now:
- Pressed Botanicals: Tiny garden blooms, flat leaves, clover, or wild grasses.
- Base Paper: Scraps of watercolor paper, neutral cardstock, or textured linen paper cut to size (around 2 x 6 inches).
- Adhesive Sealer: Clear contact paper, self-adhesive laminating pouches (no heat required), or high-clarity packing tape.
- Tools: Sharp scissors, a standard single-hole punch, and tweezers for delicate arranging.
- Trims: Scrap twine, jute cord, or frayed velvet ribbon to finish the top tassel.
Step 1: Foraging and Pressing Your Blooms
The secret to effortless bookmarks lies in selecting the right flowers. Thick, fleshy blossoms like fresh garden roses or heavy peonies hold too much moisture and tend to brown. Instead, look for naturally flat or delicate blooms:
- Violas and pansies
- Forget-me-nots and baby's breath
- Delicate fern fronds and clover leaves
- Hydrangea florets and cosmos petals
To press them without an expensive wooden press, simply line the pages of a thick, heavy book with parchment paper. Lay your petals flat, ensuring they do not overlap. Close the book, weight it down with two or three extra volumes, and leave them in a dry spot for 7 to 10 days until completely crisp and papery to the touch.
Step 2: Designing Your Botanical Collage
Cut your cardstock to your desired bookmark dimensions. Softly round the corners with your scissors for a polished, heirloom finish. Using your tweezers, gently arrange the dried flowers across the surface.
You can create a whimsical meadow effect with stems climbing upward from the bottom edge, or arrange a minimalist vertical cascade of three simple petals. Take your time enjoying the tactile nature of this stage. Because pressed botanicals are fragile, avoid using wet liquid craft glue, as it can saturate the dried petals and make the colors bleed. If needed, anchor pieces with a tiny speck of a basic glue stick.
Step 3: Sealing Your Bookmark Affordably
Now that your design is set, it is time to protect it against everyday reading wear. Self-adhesive laminating sheets or clear shelf-liner contact paper work wonders here for mere pennies:
- Cut two pieces of clear adhesive sheet slightly larger than your cardstock bookmark.
- Peel the backing from one sheet and lay it sticky-side up on your flat table.
- Carefully place your botanical cardstock facedown onto the center of the adhesive. Press firmly from the center outward to push away trapped air.
- Peel the second adhesive sheet and carefully smooth it over the back, sandwiching the bookmark completely.
- Use a smooth ruler or the edge of a credit card to burnish the surface, securing a tight, crystal-clear seal around every stem.
- Trim away the excess plastic edges, leaving a tiny 1-millimeter border to prevent the layers from peeling apart over time.
Step 4: Adding Aesthetic Details
To complete your bookmark, punch a neat hole at the top center. Loop through a strand of frayed raw-edge linen ribbon, thrifted lace, or simple hemp cord. You can even write a gentle line of poetry or a handwritten date on the paper base before sealing it to turn your project into a timeless memory marker.
Styling and Gifting Your Botanical Art
These handmade treasures make heartwarming, low-waste gifts. Pair one with a thrifted vintage classic, tie it around a warm mug with baking twine, or tuck it into a handwritten letter to a kindred spirit. Slow crafting reminds us that everyday beauty does not require elaborate budgets—only a little patience and a love for the small wonders under our feet.
How to Make Pressed Flower Bookmarks 🌸 Easy DIY Budget Craft
Discover how to make pressed flower bookmarks using low-cost materials. A peaceful, aesthetic DIY project to celebrate nature and elevate your cozy reading routine. #pressedflowers #diycrafts #cozyreading #botanicalcrafts