Beginner Guide to Making Pressed Flower Bookmarks for Gifts
Capture the fleeting beauty of nature with this step-by-step guide. Create timeless, personalized pressed flower bookmarks for your loved ones today.
The Art of Preserving Nature
There is something profoundly grounding about pausing to appreciate the delicate details of a wildflower. In our fast-paced world, the simple act of foraging and preserving petals serves as a beautiful form of mindfulness. Learning how to make pressed flower bookmarks is not just a creative project; it is an invitation to slow down, connect with the seasons, and craft a heartfelt gift that carries a piece of nature’s quiet elegance.
Why Choose Pressed Flower Bookmarks?
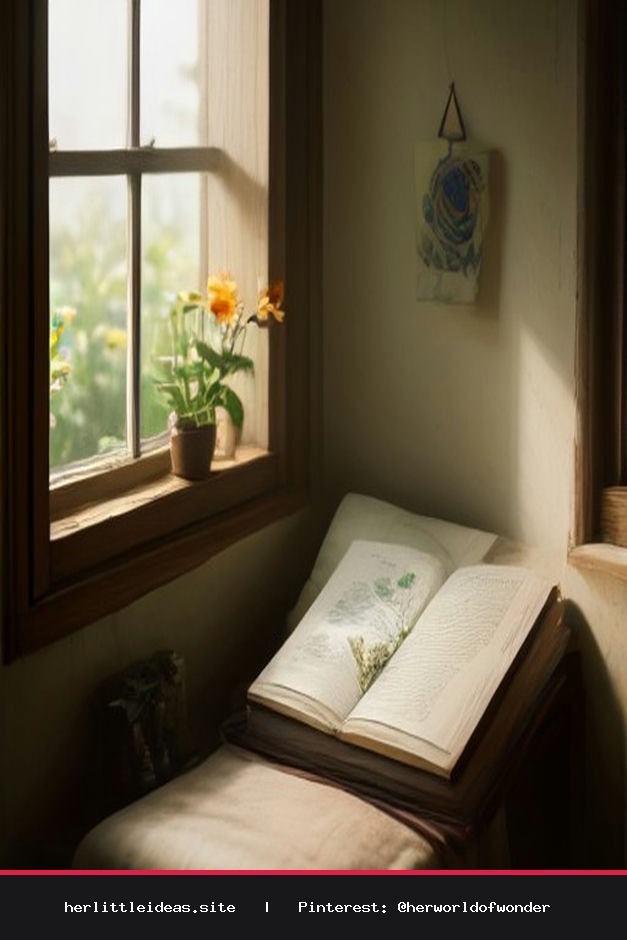
In an age of digital noise, a handmade bookmark feels like a warm embrace. These bookmarks serve as a gentle reminder to return to the pages of a favorite story, acting as a bridge between the natural world and your reading nook. Whether you are gifting one to a dear friend or tucking one into your own journal, they represent intentionality and love.
Gathering Your Materials
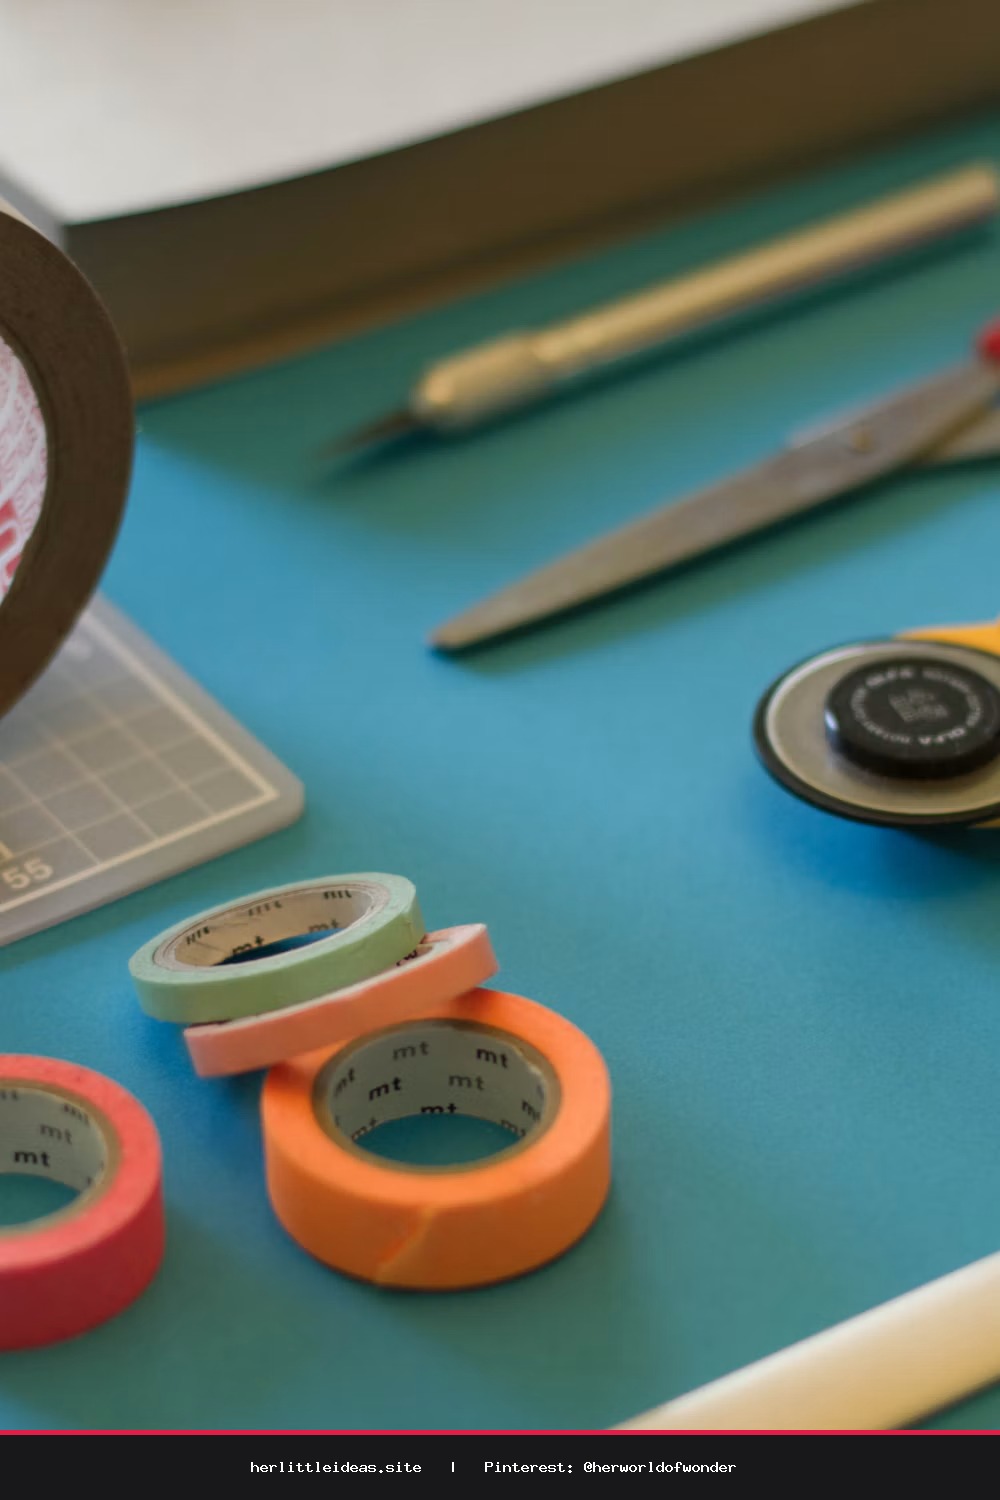
Before you begin, curate your workspace. A calm environment makes all the difference in your creative flow. You will need:
- A selection of flat, freshly picked flowers or greenery (pansies, ferns, and small daisies work beautifully).
- Heavy books (encyclopedias or thick hardcovers are ideal).
- Parchment paper or absorbent cardstock.
- Clear adhesive laminating sheets or clear contact paper.
- A hole punch and decorative ribbons, twine, or silk tassels.
- Sharp scissors.
Step-by-Step: How to Make Pressed Flower Bookmarks
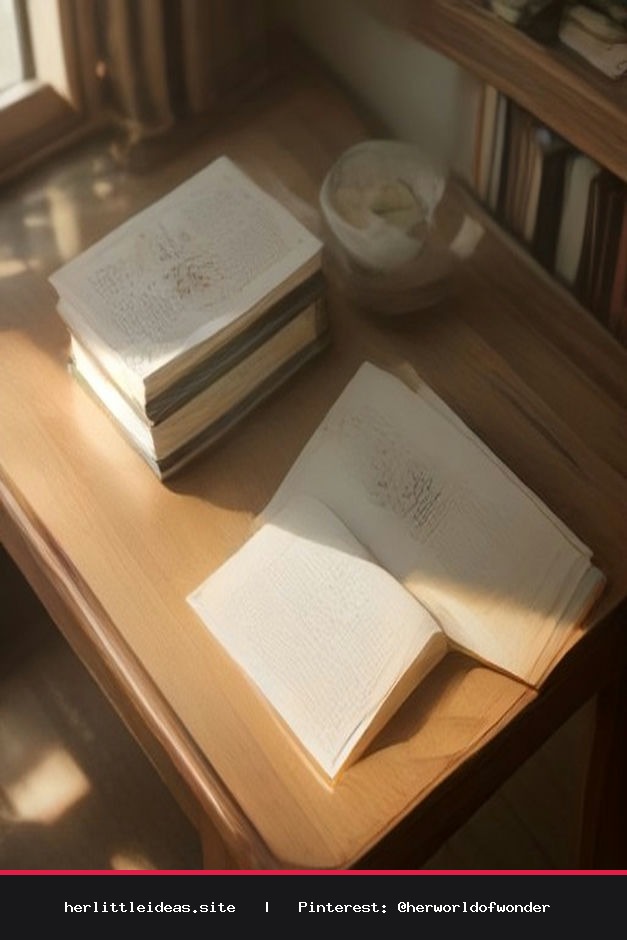
- Pressing Your Florals: Place your flowers face down on a piece of parchment paper. Cover them with another sheet and tuck them inside a heavy book. Allow them to dry for at least one to two weeks. Patience is key here; the flatter they are, the easier they will be to laminate.
- Designing Your Layout: Once your flowers are paper-thin and dry, arrange them on a piece of sturdy cardstock. You might prefer a minimalist look with a single fern or a whimsical garden scene with layered petals.
- Laminating for Longevity: Carefully peel the backing off your adhesive sheet. Place your cardstock design face down, or cover the top with a second piece of contact paper. Smooth out any air bubbles from the center outward using a credit card or a soft cloth.
- Trimming to Perfection: Use sharp scissors to trim the edges of your bookmark, leaving a small border for a clean, professional finish.
- Adding the Finishing Touch: Punch a small hole at the top and thread your choice of ribbon or twine through it. A soft silk ribbon adds a touch of vintage romance to the final piece.
Styling Your Creation
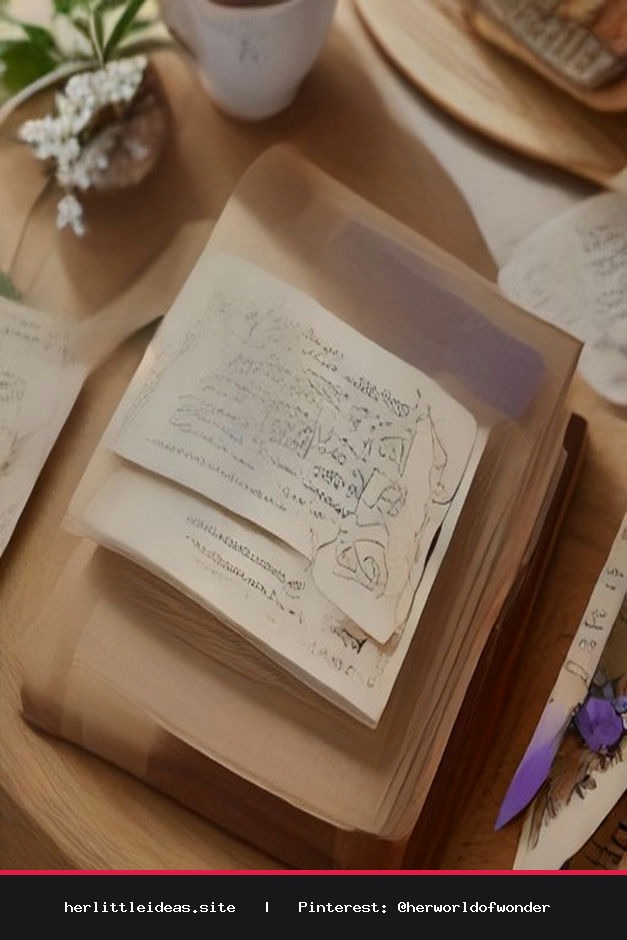
To elevate your gift, consider the presentation. Wrap your bookmark in a small glassine envelope with a sprig of dried lavender or a handwritten note. If you are keeping it for your own home library, place it inside a book with a soothing tea and a candle nearby. This ritual of styling your space and your crafts is what makes 'Her Little World' so special—it is about finding joy in the small, tactile moments of life.
A Gentle Reminder
Remember, nature is perfectly imperfect. If a petal tears or a color fades, embrace it. These variations are what make your handmade gift authentic. Crafting is meant to be a joyful exploration, not a race toward perfection. Enjoy the process of creating something that will live between the pages of a book for years to come.
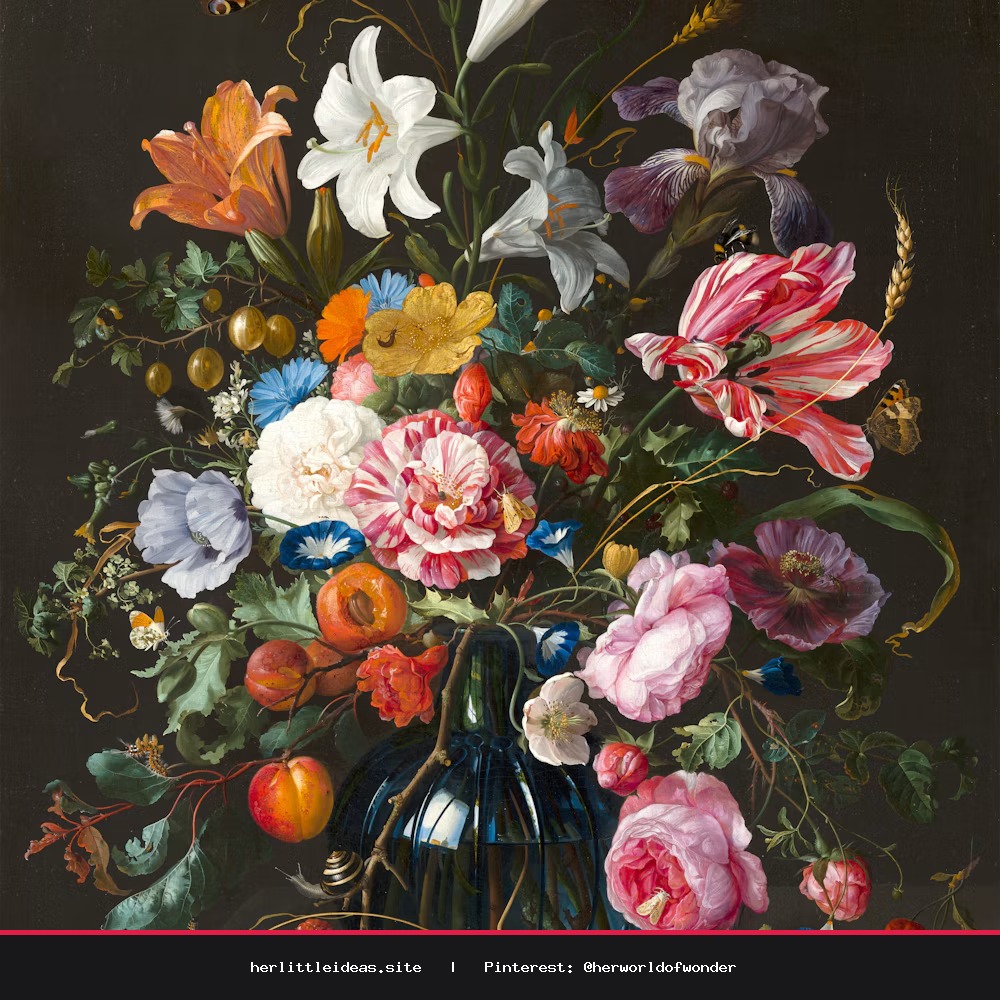
DIY Pressed Flower Bookmarks: Easy & Beautiful Gift Ideas 🌸
Learn how to make pressed flower bookmarks! These DIY gifts are perfect for book lovers and nature enthusiasts. Aesthetic, simple, and heartfelt. #DIYCrafts #PressedFlowers #BookLovers #HandmadeGifts #SlowLiving